Help Center > Self Service Module
Steps for Getting Started with Self Service Module
INTRODUCTION
Self-service is an approach where users access resources to find solutions on their own without requiring assistance from a service representative.
Sub – Modules
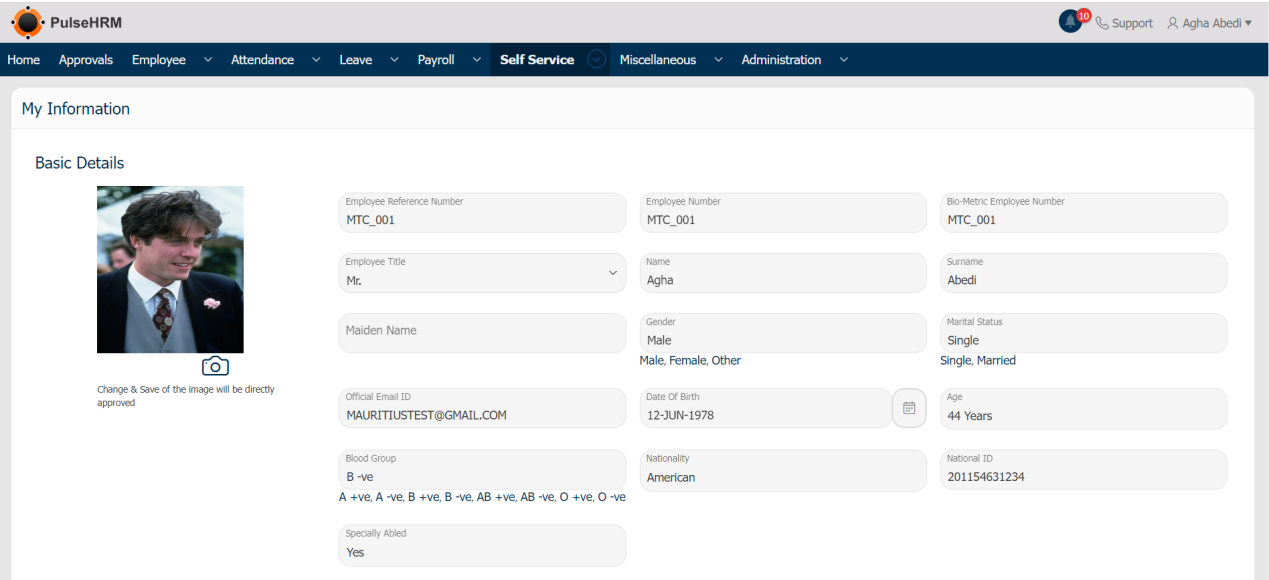
1) View / Edit Personal Info
The Employee can do the required changes in their personal details and submit it for approval to the Reporting Manager.
To perform the required changes, go to:
Self Service -> View/Edit Personal Info-> Enter the details -> Click on Apply Changes.
(Note: Work Details and Account Details cannot be edited)
The changes request will be sent to the Reporting Manager for approval. The profile picture does not need any approval.
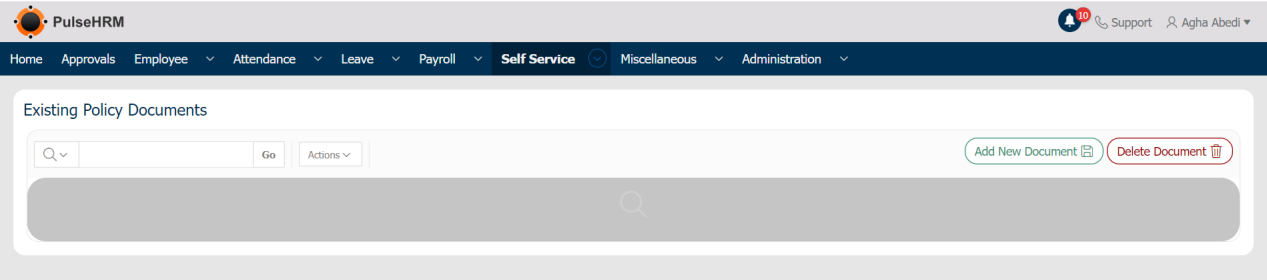
2) Policy Documents
The policies of the organization will be visible to all the employees which can be viewed and also can be downloaded for reference.
To view or download the documents, go to:
Self Service -> Policy Documents -> Add New Document -> Enter the details -> Click on Add Document.
The document can be viewed and downloaded by clicking on view and download button respectively. The admin alone has the access to add or delete the documents into the portal.
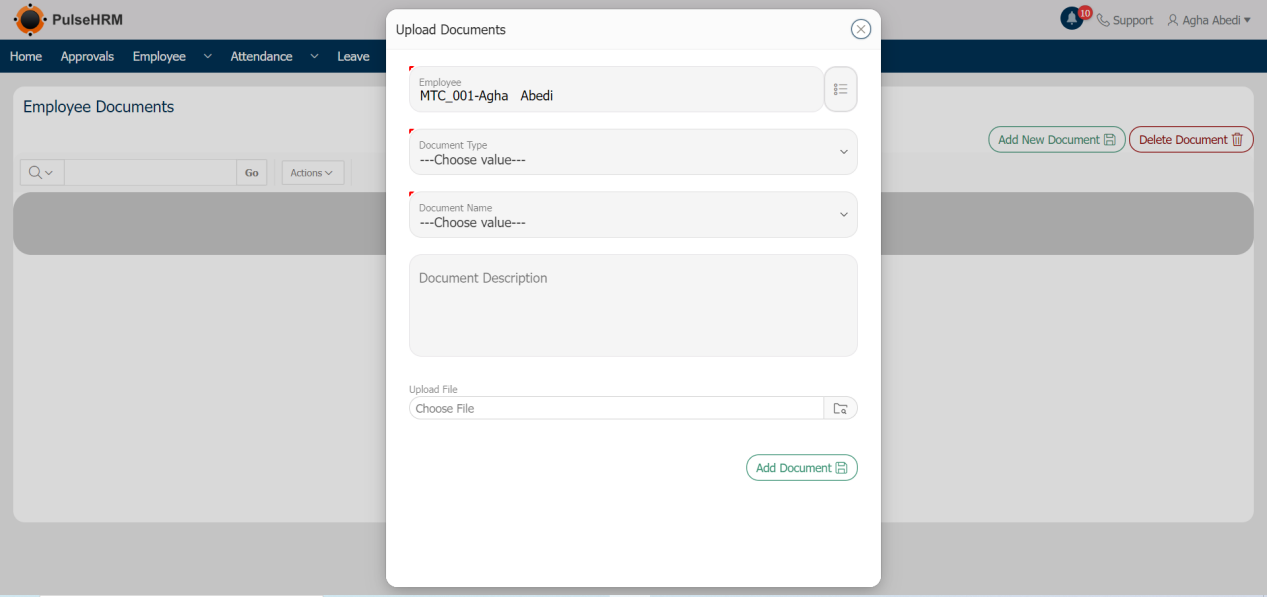
3) E-Docs
E-docs is used to upload the documents of the employee for the employee use which will be visible only to the personal employee only.
To upload the documents, go to:
Self Service -> E Docs -> Click on Add New Document -> Select Employee Name -> Select Document Type -> Select Document Name -> Upload the file -> Click on Add Document.
To delete the document, go to:
Self Service -> E Docs -> Select the document -> Click on Delete Document.
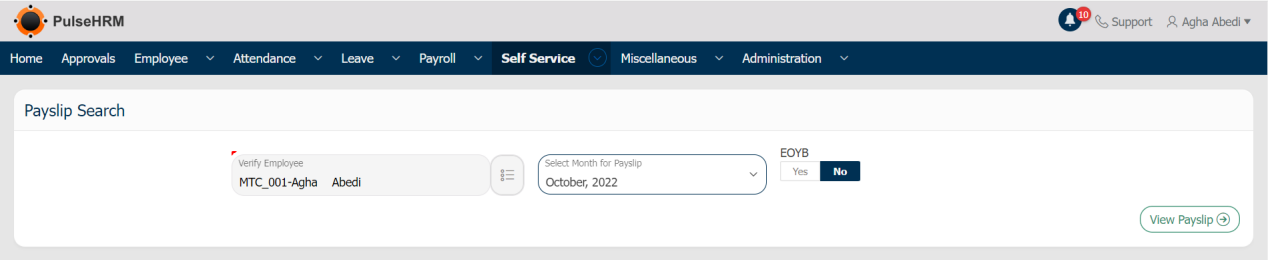
4) Payslip Individual
The logged in employee can download his/her payslip here.
To download the payslip, go to:
Self Service -> Payslip – Individual -> Select the payslip month -> Click on View Payslip.
To download the EOYB payslip, go to:
Self Service -> Payslip – Individual -> Select Yes under EOYB -> Click on View Payslip.
The payslip will be displayed.
5) Payslip Bulk
The access is provided only to the admin of the organization. It is used to view or download the payslip for all the employees of the organization for the selected month.
To download the payslip, go to:
Self Service -> Payslip Bulk -> Select the payslip month -> Click on View Payslip.
To download the EOYB payslip, go to:
Self Service -> Payslip Bulk -> Select Yes under EOYB -> Click on View Payslip. The payslip will be displayed.
When clicked on the print button in the payslip, the PDF document will be downloaded in which each page contains each employee payslip.

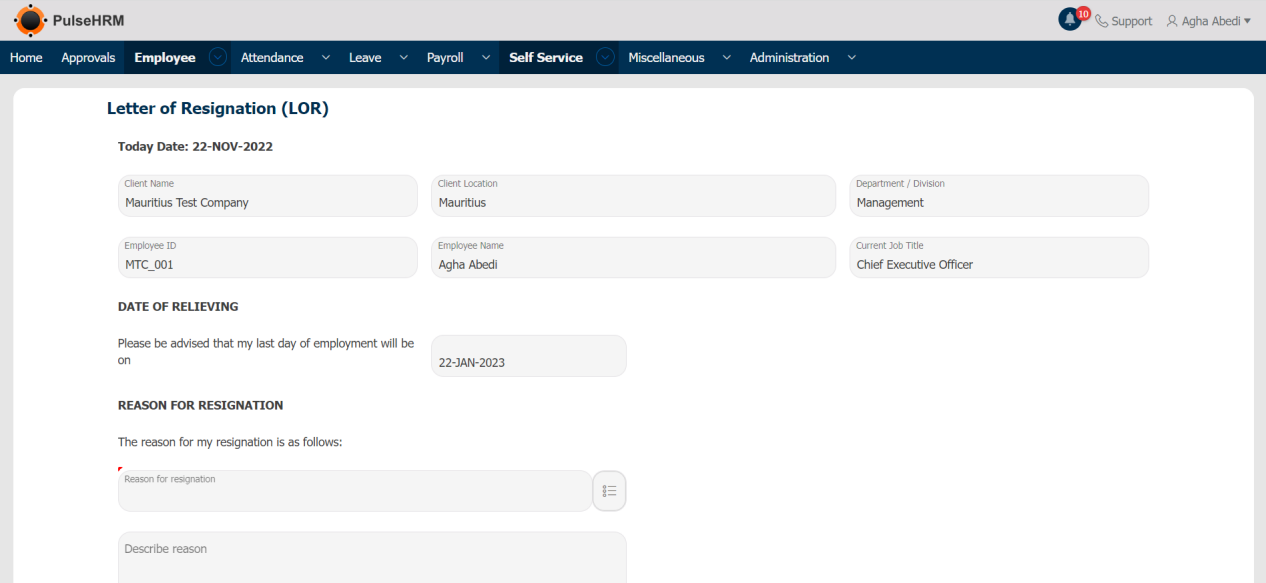
6) Letter Of Resignation
If the employee wants to resign from the organization due to some reason, then the employee can apply for the same from the LOR page, which will be sent for approval to the reporting manager of the particular employee.
To apply for resignation, go to:
Self Service -> Letter of Resignation.
The basic details and Date of Relieving will also be auto-populated and it cannot be edited. The Date of Relieving is generated from the branding page of the administration module based on the notice period for confirmed employees.
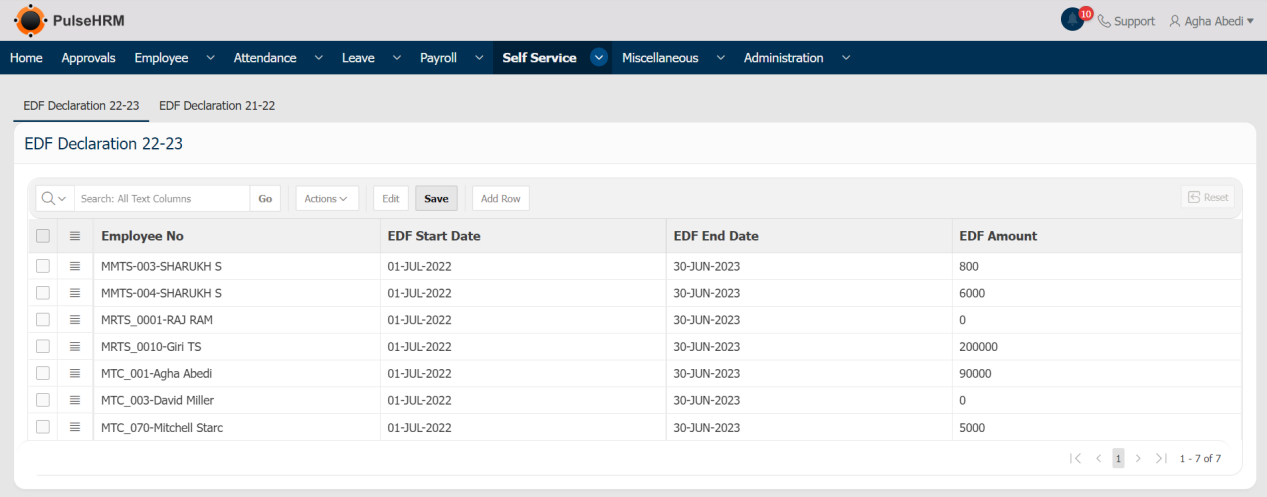
7) EDF Declaration
EDF also known as Employee Declaration Form. The exempted amount declared by the Mauritius Government after the submission of the declaration by the employee should be added here.
To add the EDF Amount, go to:
Self Service -> EDF Declaration Form -> Click on Add Row -> Enter the details -> Click on Save.
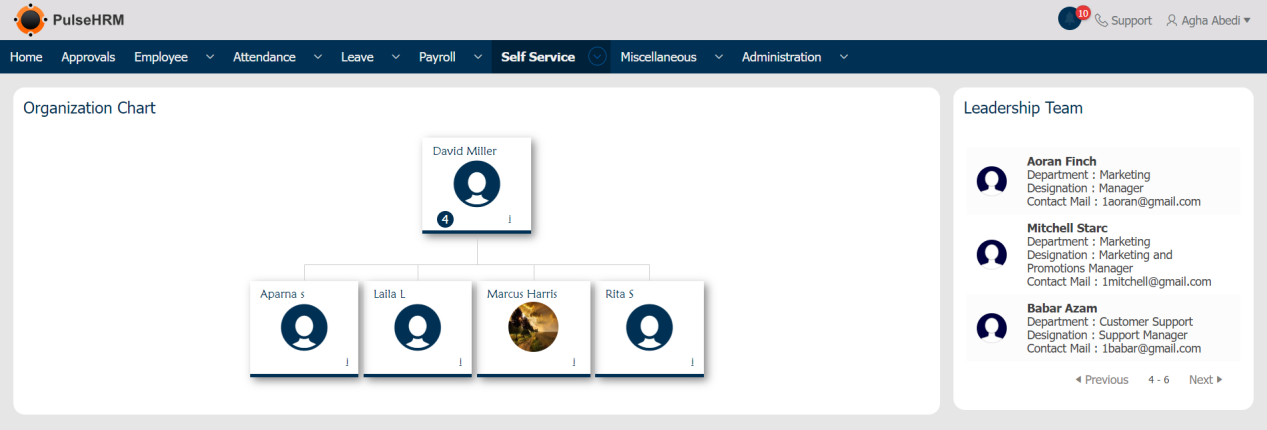
8) Organization Chart (Tree View)
The Organizational Chart will display the tree view of the hierarchy of the employees in the organization.
To view the organizational chart, go to:
Self Service -> Organization Chart.
The chart view will be displayed on the left side of the page and on the right side of the page the leadership employee details will be displayed.
9) EDF Declaration
i) Bills Submission: All the expenses incurred for an employee of the organization during a client visit can be applied can reimbursed from the organization side.
To apply for reimbursement, go to:
Self Service -> Expenses -> Click on Bills Submission -> Enter the details of the expenses incurred -> Click on Submit Bills.
The submitted bill details will be displayed on the left side of the page along with the status of the bill.

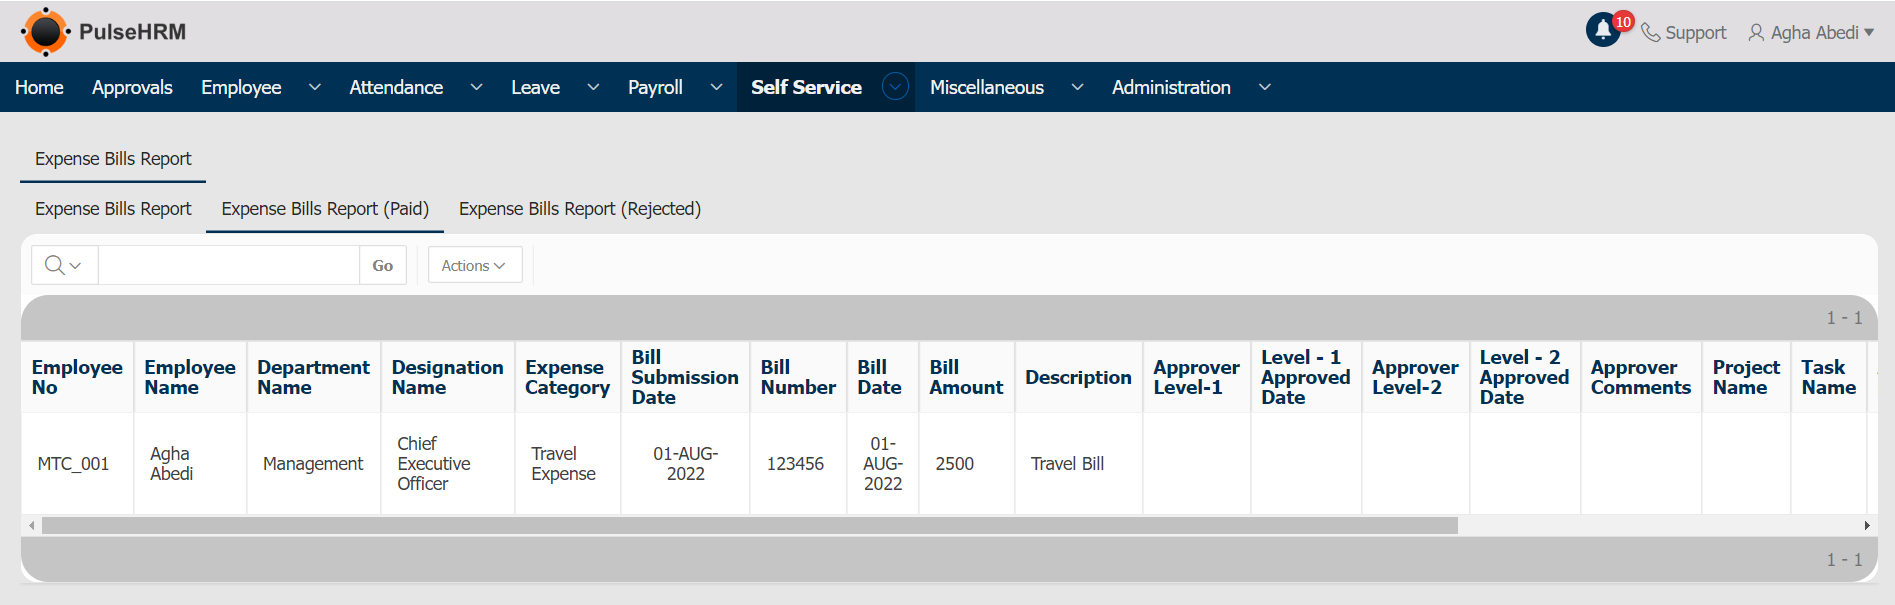
ii) Reports: Under Reports there are 3 tabs:
To view the report, go to:
Self Service -> Expenses -> Reports
Expense Bills Report: It displays the report of the approved bills submitted by the employees.
Expense Bills Report (Paid): It displays the report of the paid bills submitted by the employees.
Expense Bills Report (Rejected): It displays the report of the rejected bills submitted by the employees.
10) Loan
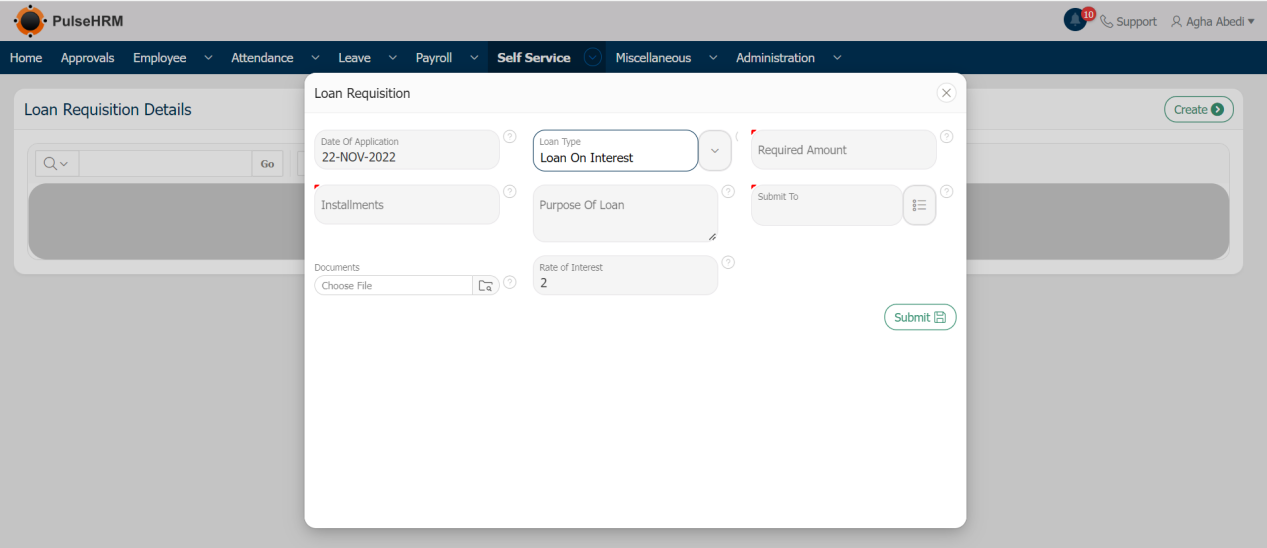
i) Loan Requisition: The employee can apply for loan from the organization based on the setup defined by the organization.
To apply for loan, go to:
Self Service -> Loan -> Loan requisition -> Enter the details -> Click on Submit.
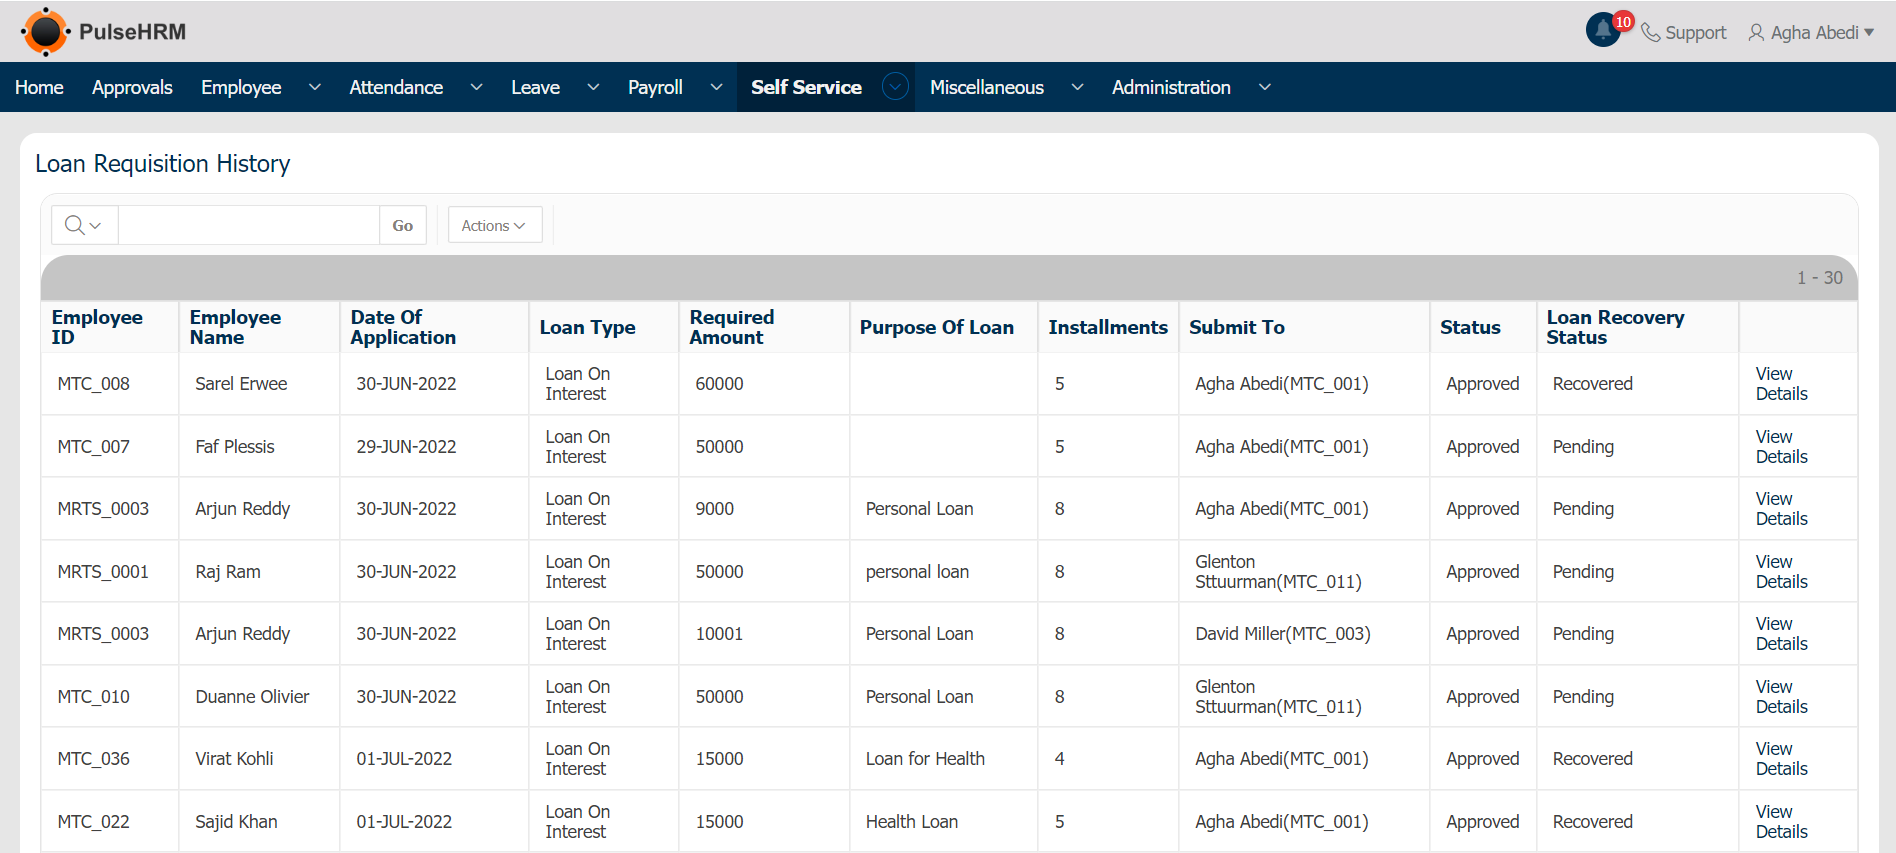
ii) Reports: The report of the approved, cancelled, rejected and pending loan details will be To view the reports, go to:
Self Service -> Loan -> Reports.
The report of the loan details applied by the employees will be displayed.